WOLFEYE REMOTE DESKTOP SCREEN
Share remote desktop screen. Lightning fast. From the web browser.
Cloud-based remote desktop screen sharing solution that allows users to view a network of remote desktops and servers from any device. Access is via the web browser.
*3-day trial version. Zip file password: wolfeye
**60 days money back guarantee
Supports Windows 11, 10, 8, 7, Vista & XP
By installing the Software or using the Service, you confirm that you are acting in accordance with applicable law and accept full responsibility for your use of the product.
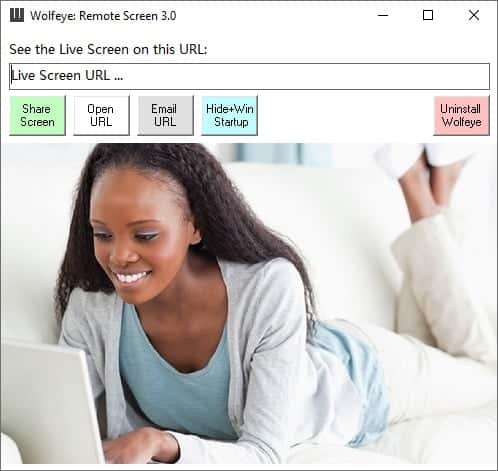
You can share your screen to collaborate with others in real time, or connect to another computer to help or get help remotely.
Because with Wolfeye Remote Screen you can see the live remote desktop screen from a distance. The program shares the screen as soon as the “Share Screen” button is pressed. You know the computer screen is being recorded when the button turns red. The URL / website on which the live screen transmission can be viewed appears in the top bar. You can see the computer live screen over the Internet with any browser (for example, also with your mobile phone). The URL where the computer’s live screen can be seen appears in the top bar. The URL consists of the hardware ID and the user name of the PC. You can email this link to your friends or colleagues using the “Email URL” button:
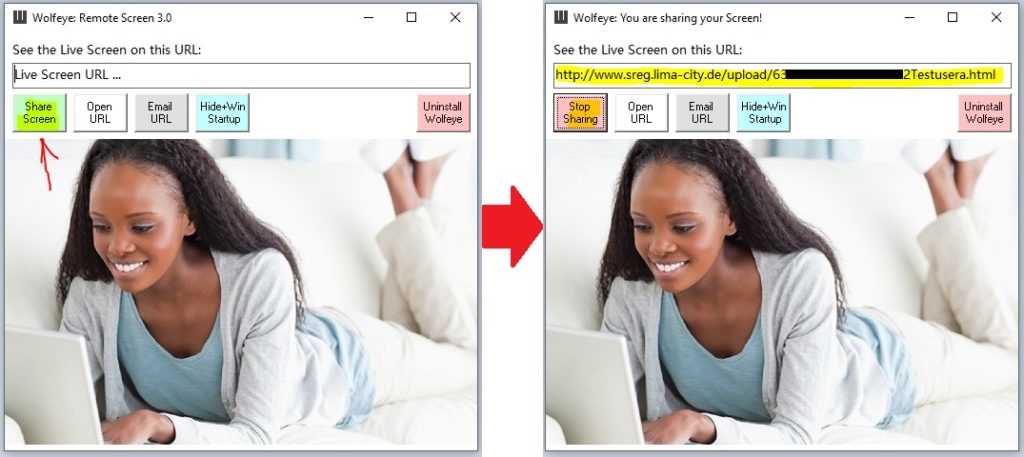
The application must be running on the computer whose screen is to be shared. This is the software agent, a small program that transmits screen captures from a remote computer without installation:
If you press the “Wide+Win Startup” button, the software hides and runs in the background or starts every time the computer is restarted. Because this functionality can also be used to monitor the PC screen, some antivirus programs may report the software as suspicious. That’s why it’s important to put the folder in the antivirus exception where you want Wolfeye to run.
How to do this depends on which antivirus program you are using. If you want to know how your antivirus program works, send us an email and tell us which antivirus program you use. We will give you the instructions for setting up an exception in your antivirus program. There are antivirus programs in which the exception must be set in different places. Because, for example, there is a live scan and a general scan. So please send us an email if you have any questions.
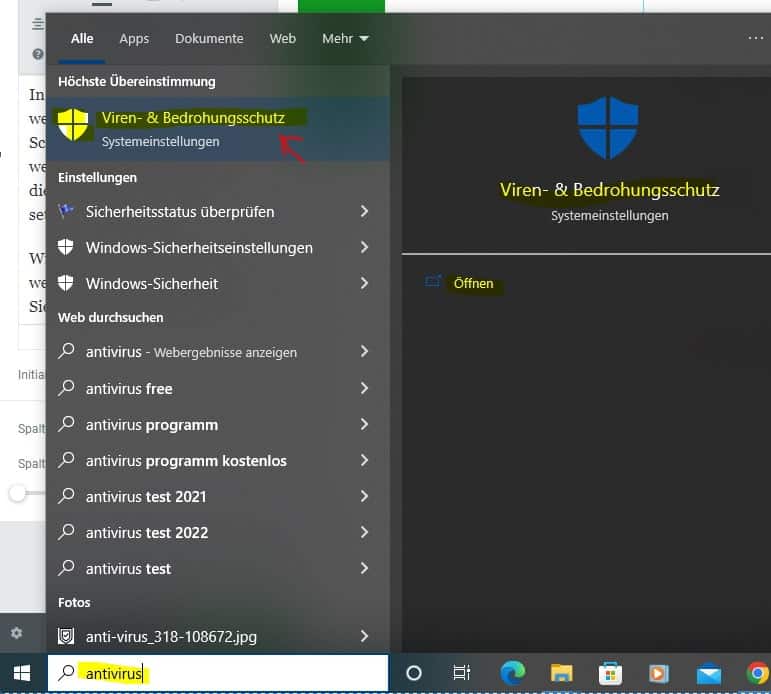
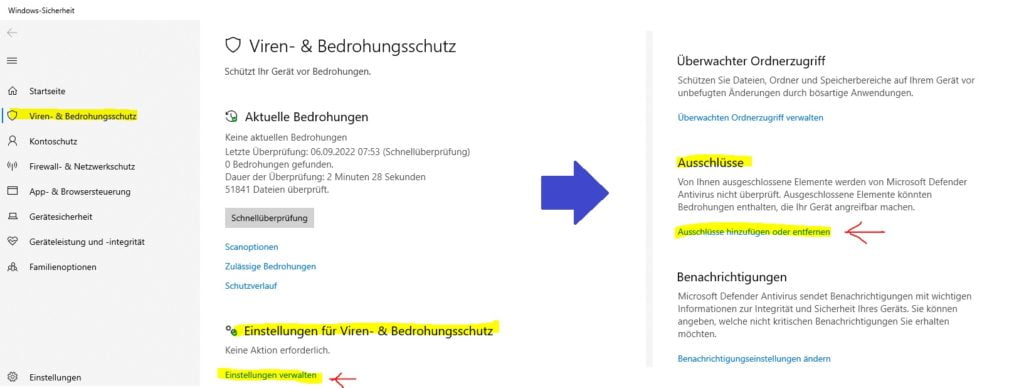
I now show here how to set such an exception in the Windows Defender Security Center of Windows. I do this by typing here in the Windows search box, then Antivirus, and clicking Virus and thread protection:
Virus and threat protection opens and next I go to Virus and threat protection settings (thread and protection settings). A page appears, I have to scroll down and click on exclusions. And here I can add or remove exclusions:
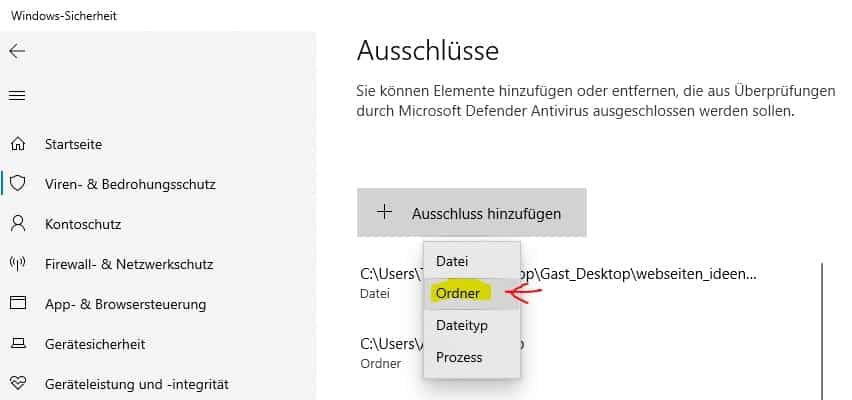
And I can choose to put a specific file or folder in the antivirus exception. But I choose a folder because I want to add the whole folder. I now click on it and enter the folder “winupdate”. With this, the antivirus program will continue to scan everything normally, but skip one folder during the scan:
